First, a note:
I half thought about delaying this post due to the unfortunate happenings in Boston earlier this week. However, in the end, I decided that I would go ahead with this. Pressure canners can be dangerous. It is always very important to read and follow the instructions that come with your canner. But they are very useful tools in the kitchen. The ones used in the bombs in Boston were much smaller cookers then are generally used in home canning.
We live very far away from Boston, but our thoughts and prayers are with all of those who were there and who have friends and family out there. Our neighbor's son was at the race Monday. He is in Boston serving a mission for our Church. He suffered some minor injuries and we are all very thankful that he was not injured more severely.

Anyway, so after a week and a half of stock making (we had a late, last minute extra carcass to toss in after hubby wanted chicken fingers for dinner Sunday.. so Saturday I spent deboning another chicken...) and some time for the stock to sit in the refrigerator so the fats would solidify.. Today I was able to get everything into bottles and processed for long term storage.
I will walk you through what I did, but, as always, please read the instructions that came with your pressure canner when doing this at home. There may be some differences in processing time due to elevation or whatnot..
 |
| 6 quart sized bottles for the first batch.. |
 |
| lids for the first batch |
First thing I did was to gather all my bottles and run them through the dishwasher. This makes sure they are clean, and, in as much as possible, hot for the canning process. While they are washing, get out your canner and fill it with water to the pressure canning mark. It should be fairly low down, an inch or two from the bottom. Get a small saucepan and fill with water. Your lids will go in this. You will need to have your lids boiled and ready to go.
 | |
| bubble bubble... |
Fill a large stock pot with your cold stock and bring to a boil. I had 3 large bowls of stock in my fridge, so I couldn't fit it all in at one go, but that is ok, because I was going to have 2 rounds of bottles anyway.
When your dishwasher is just about done, bring all 3 pots to a boil. (The canner you might just want to bring to a simmer, but it will go faster if you've preheated your water... again.. follow the instructions for your canner!!)
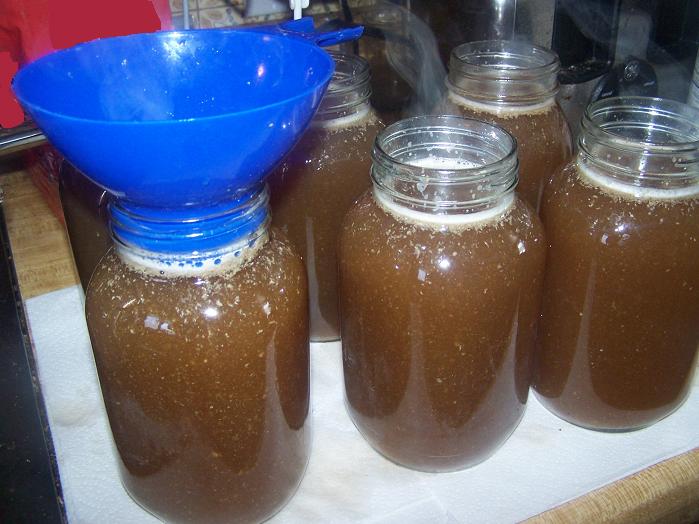 | |
| bottles all full |
When the stock has come to a boil, turn off the heat and fill your bottles. For stocks and soups, the instructions for my canner says to leave a 1 inch head space. When your bottles are filled, run a damp cloth around the edges of the top of the jar to wipe any spills or obstructions that might prevent the lid from sealing. Place your boiled lid on your jar and twist closed with your ring. They just need to be finger tight.
 |
| into the bath! |
When you have enough jars to fill your canner, do so. Use your jar lifter so as not to burn your fingers and move your jars into the canner.

Place your lid on the canner and wait for the pressure indicator to pop (again, follow your canner's instructions..) place your weights and wait for the rattle and then start your timing. For me, I processed at 10 pounds pressure for 25 minutes for quarts and 20 minutes for pints. I did one batch of each. I got 6 quarts and 7 pints.
When your time is up, turn off the heat and wait. This is the part that takes all the time. You have to wait for the pressure in the canner to slowly dissipate before you do ANYTHING else at this point. Removing the weight or attempting to open the canner at this point could cause an explosion and there could be scalding hot liquid, glass and metal all over your kitchen, so please, JUST LET IT SIT. Wait until the pressure indicator drops and then you can remove the weight. If it is still releasing steam at this point, you might want to wait a little longer. When you do open the lid, keep in mind, things will still be incredibly hot in there and the steam can burn you, so be careful.
 | |
| second batch - 7 pint sized bottles |
Once your lid is open, use your jar lifter to move the jars from the canner to the counter. I always put down a dishcloth or several layers of paper towels, both in my cooling station and in my filling station. It helps cut down the clean up from spills and helps cushion the hot jars and protect the counter top.
Again, you will want to place them and let them be. Let them sit several hours or over night to cool before moving them to your pantry. Always check to make sure they have sealed before moving them and any that don't can either be reheated and reprocessed using a new lid, or tucked into the fridge for immediate use.
 | |
| lots of stock! |
No comments:
Post a Comment